Want to find all the Doom The Dark Ages weapons? The Doom Slayer is known for his arsenal of weaponry, and the Doom The Dark Ages weapons are some of the best in the entire series. While you could get by with just the shotgun, you'll have much more fun if you utilize your entire loadout of guns.
The weapons found in FPS game.
Here are all the Doom The Dark Ages weapons and their locations:
- Combat Shotgun – Village of Khalim (Chapter 1)
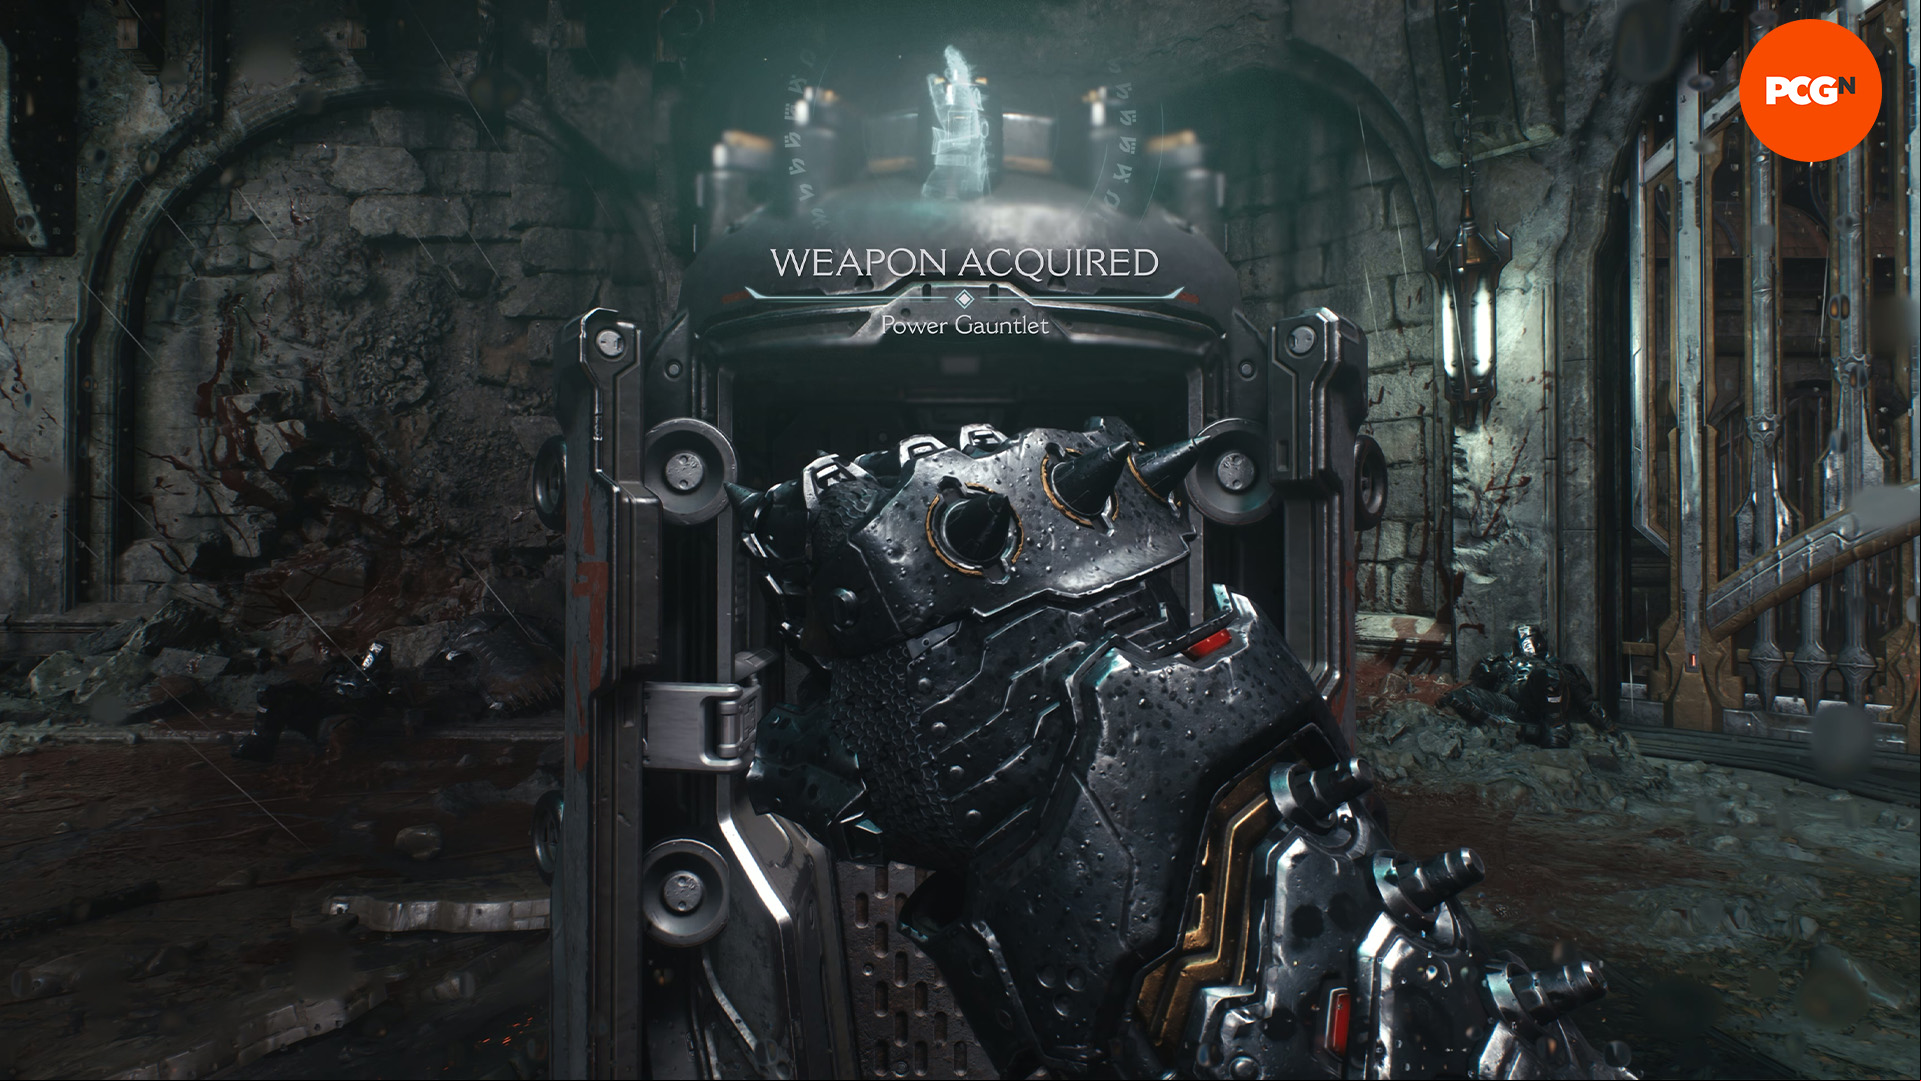
- Power Gauntlet – Village of Khalim (Chapter 1)
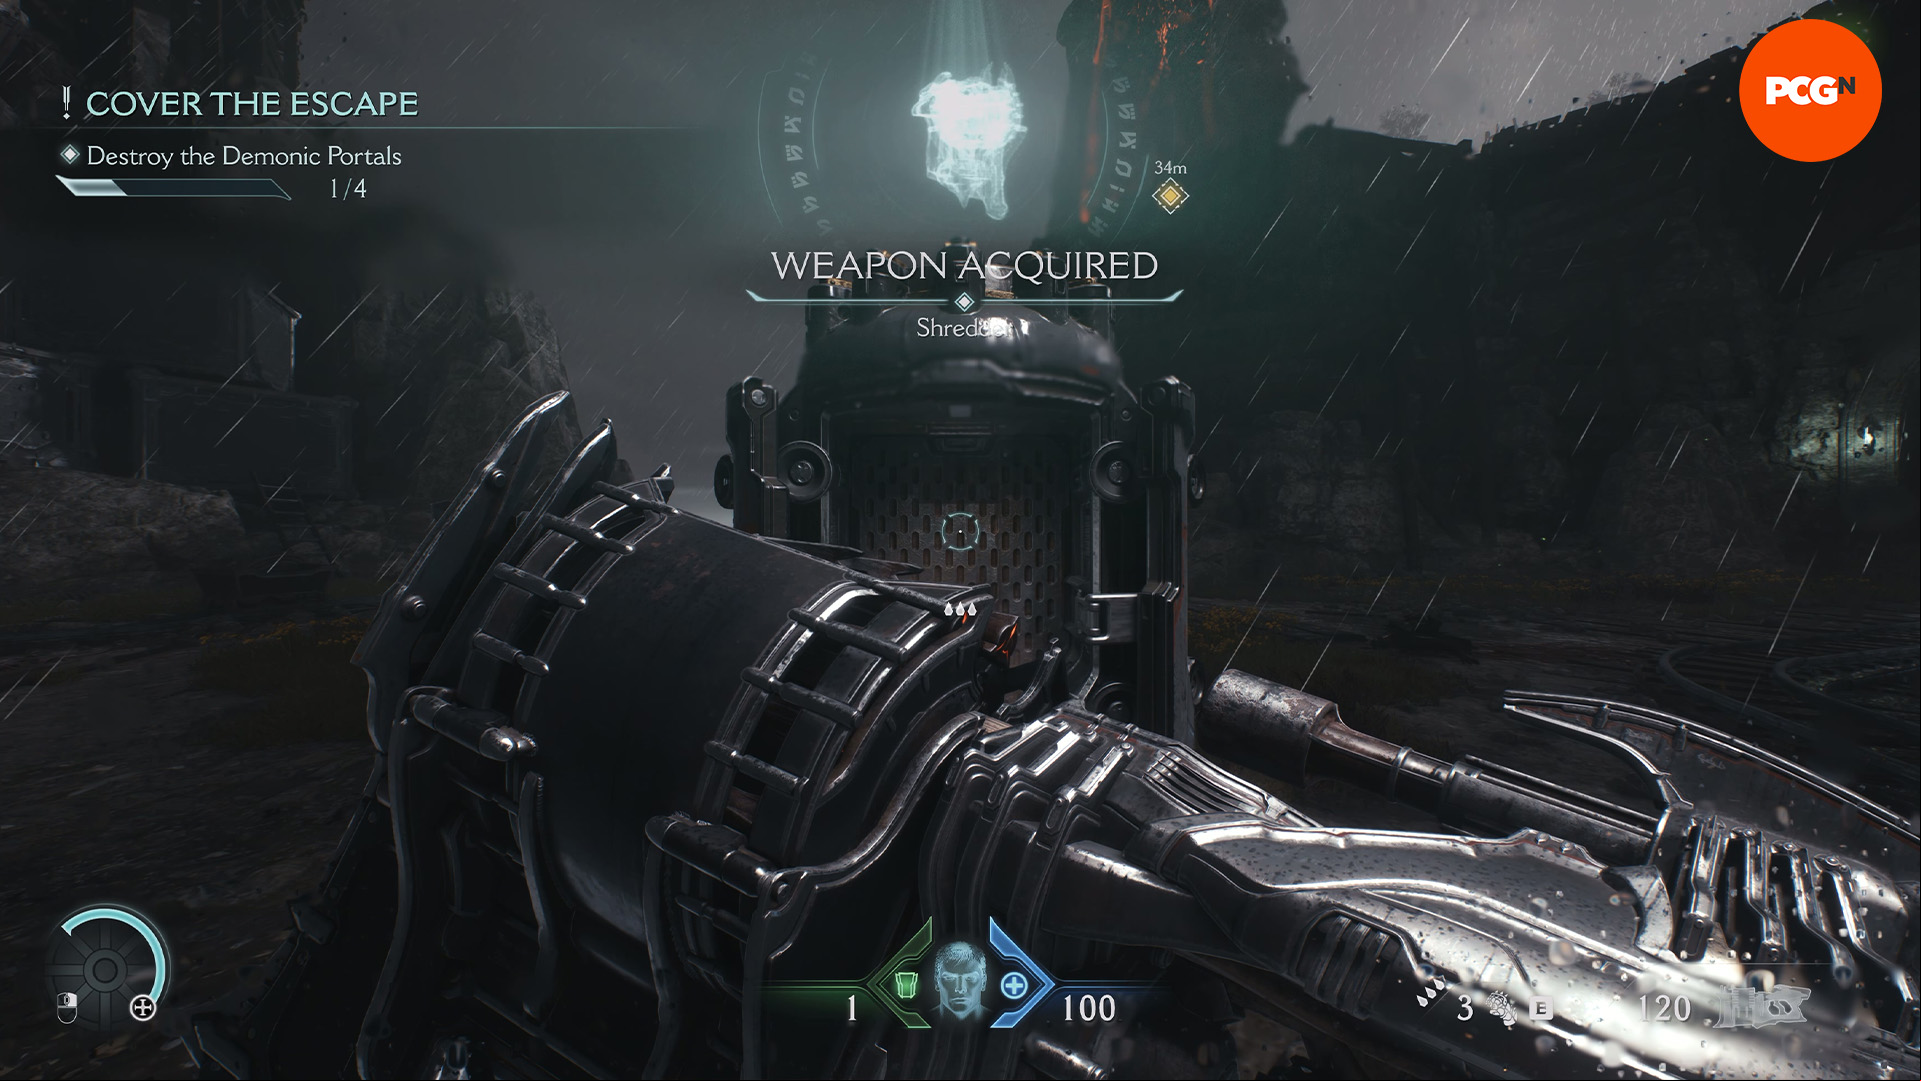
- Railspike Shredder – Village of Khalim (Chapter 1)
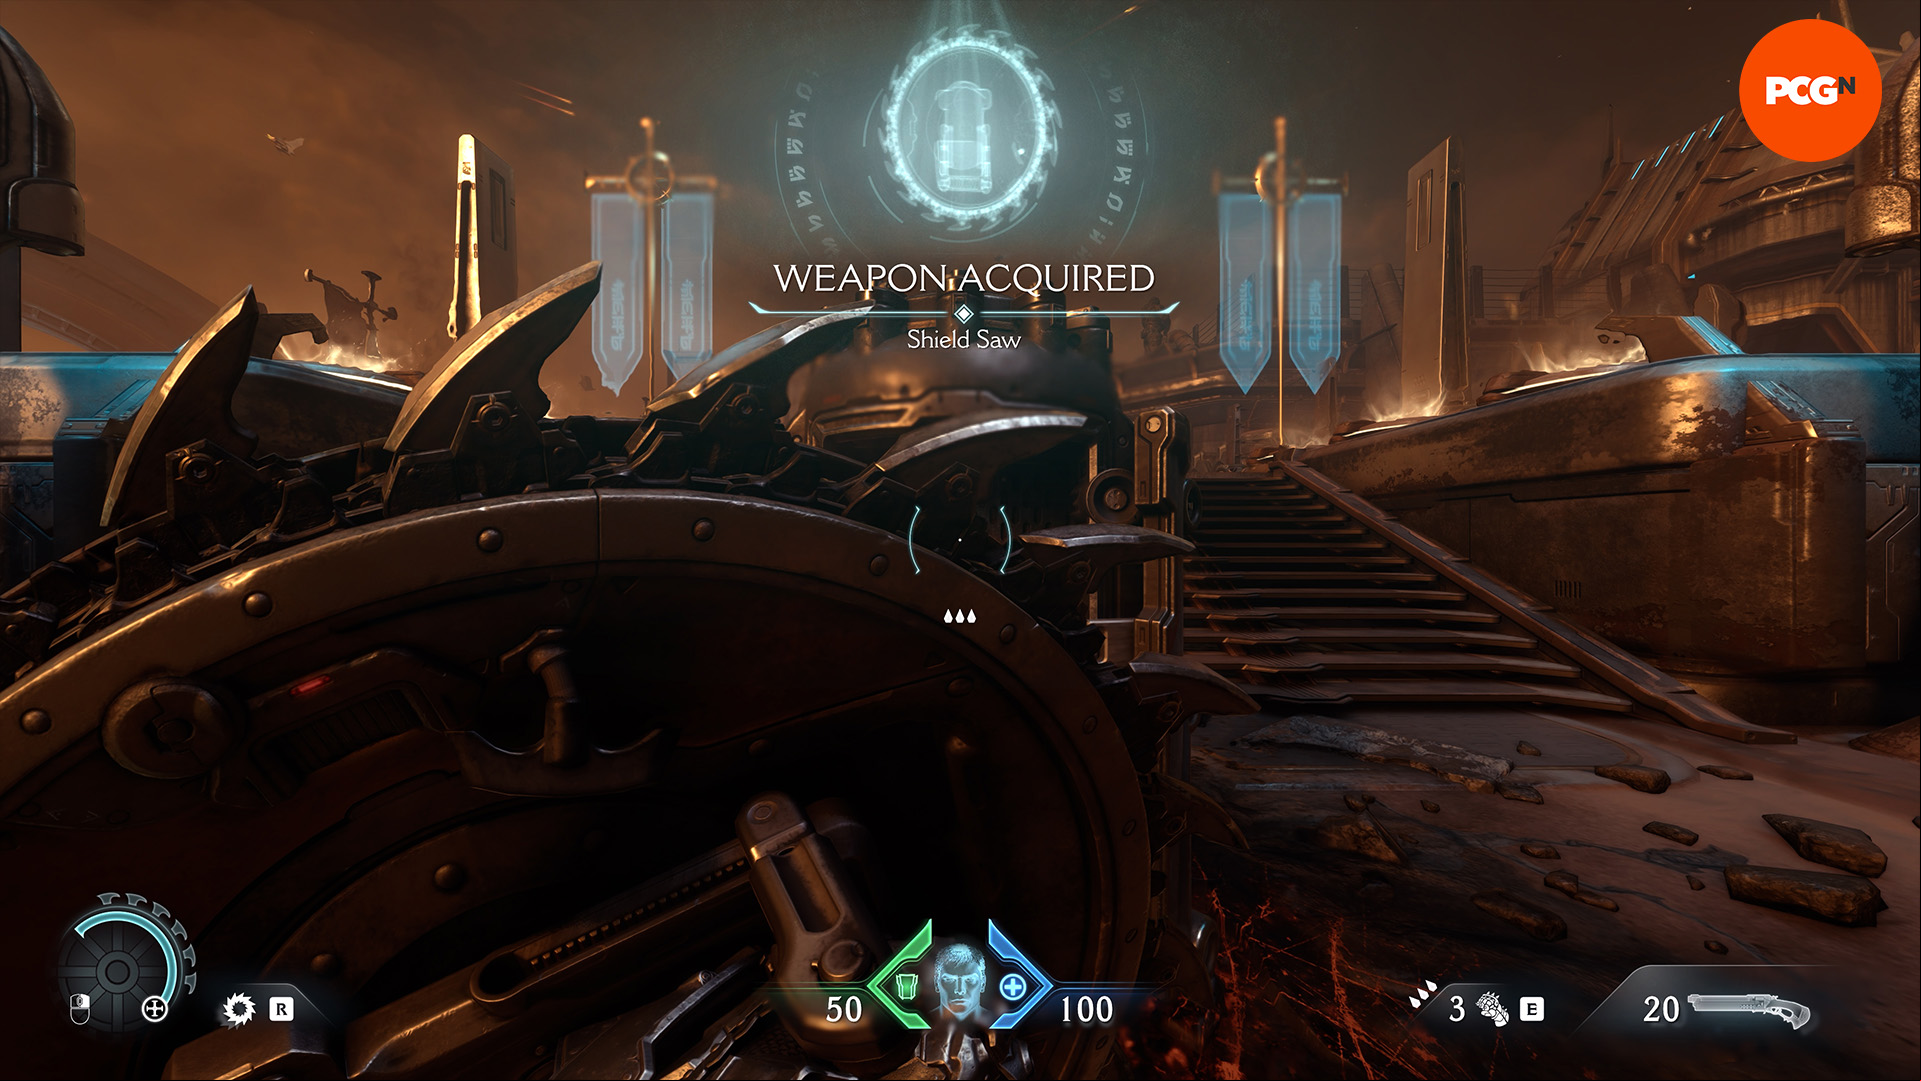
- Shield Saw – Hebeth (Chapter 2)
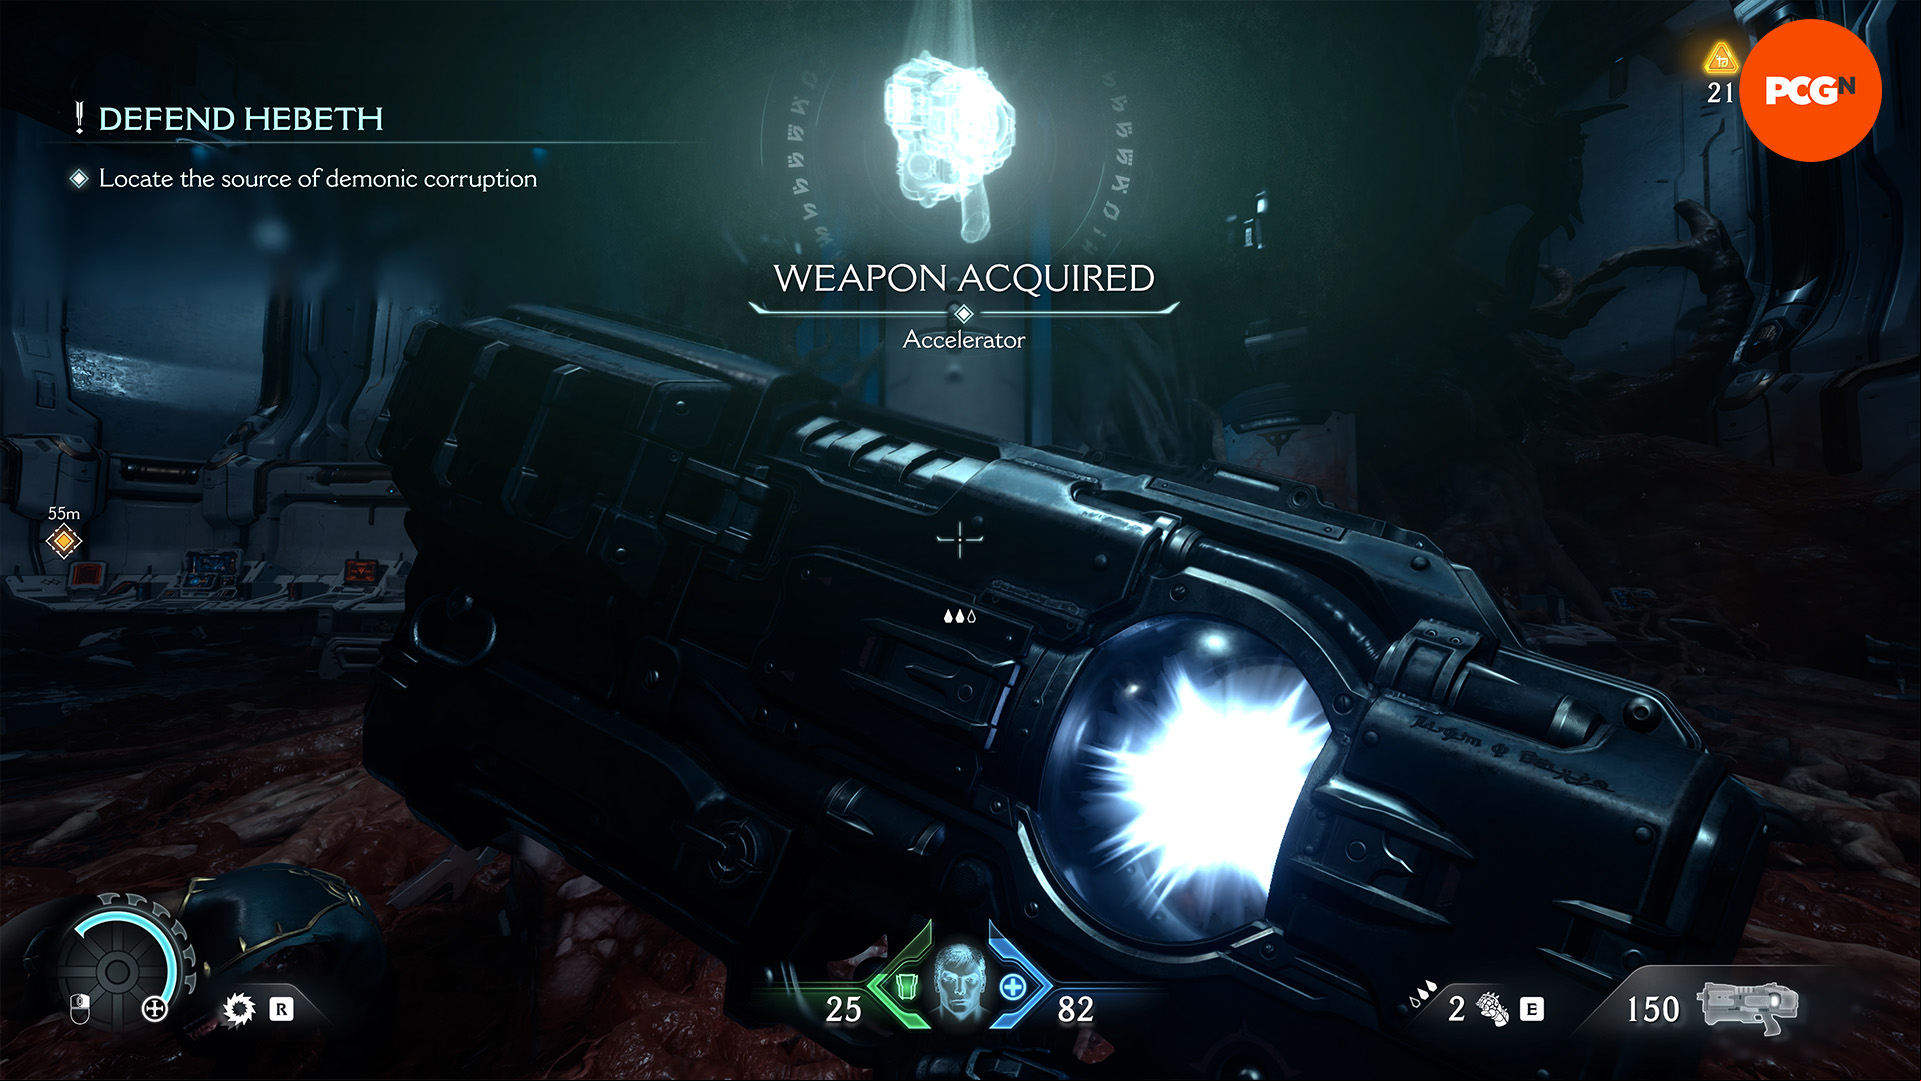
- Plasma Accelerator – Hebeth (Chapter 2)
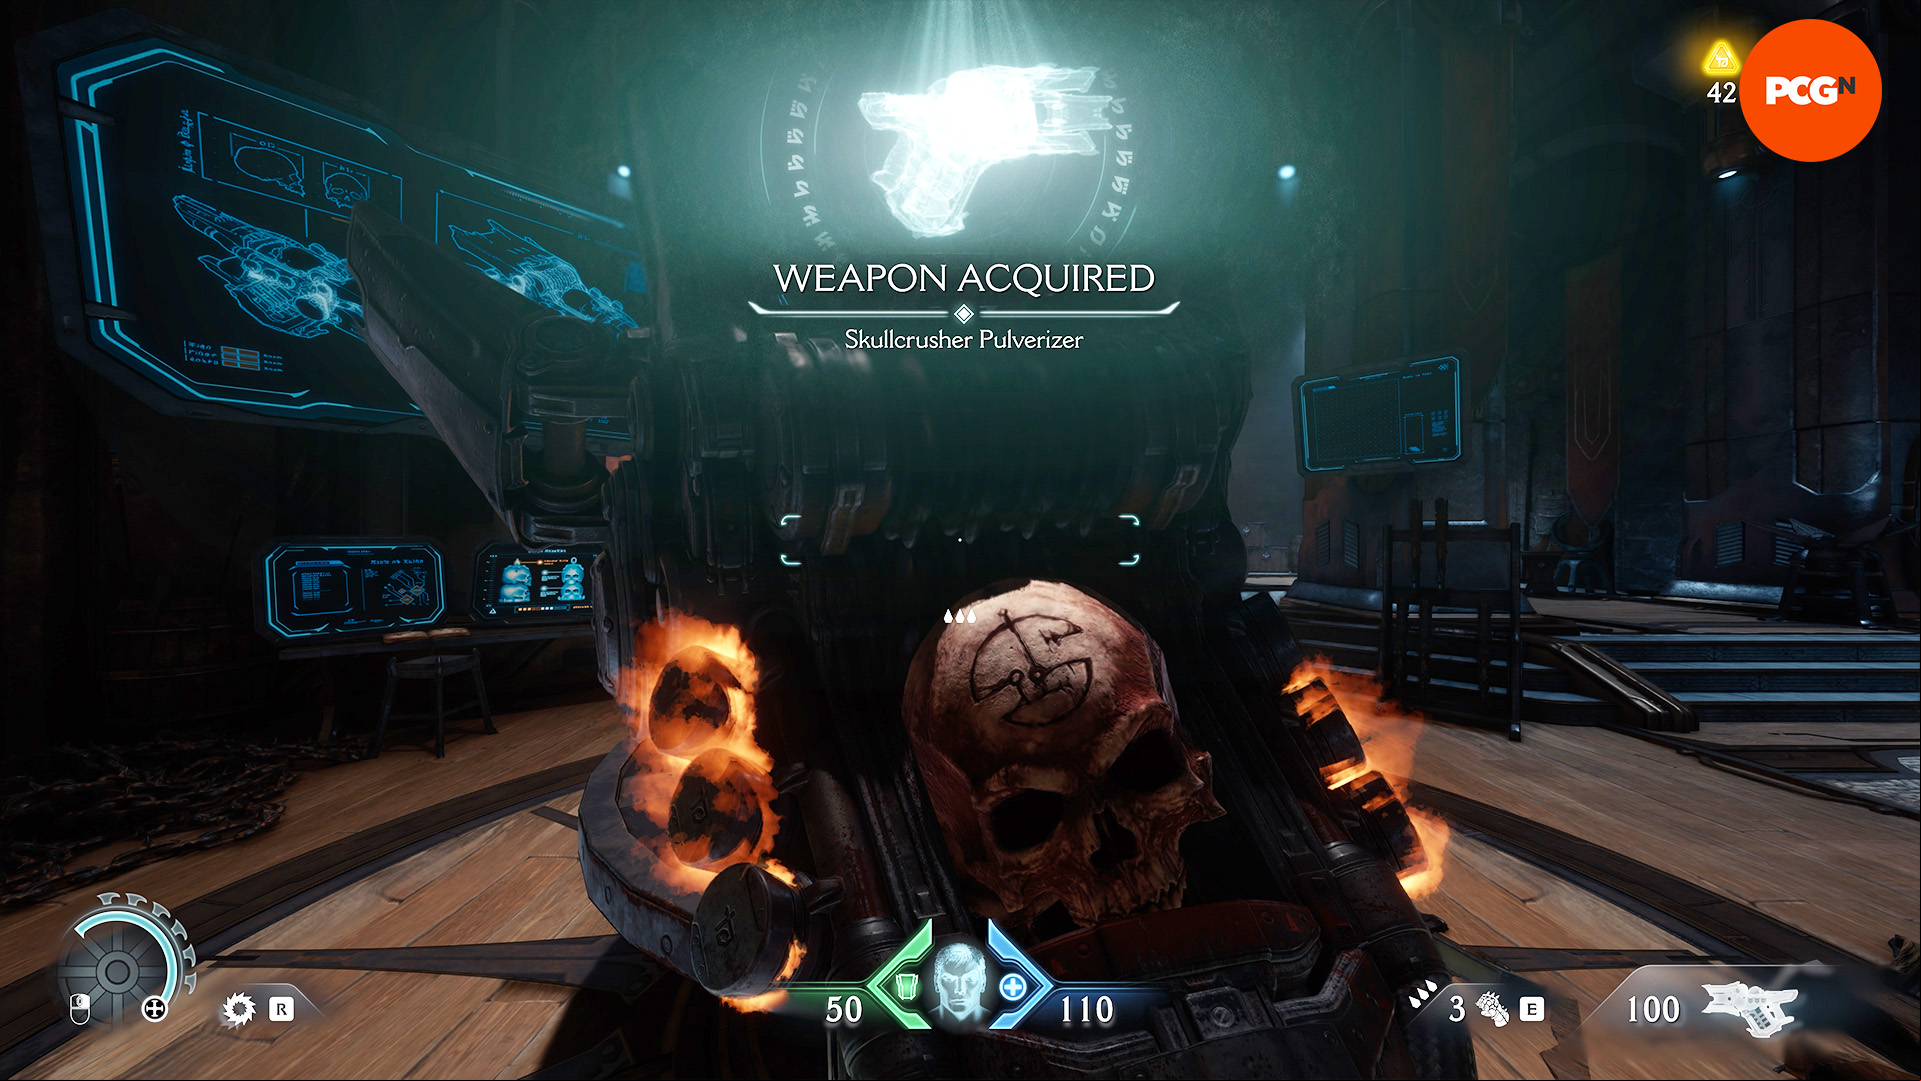
- Skullcrusher Pulverizer – Sentinel Barracks (Chapter 4)
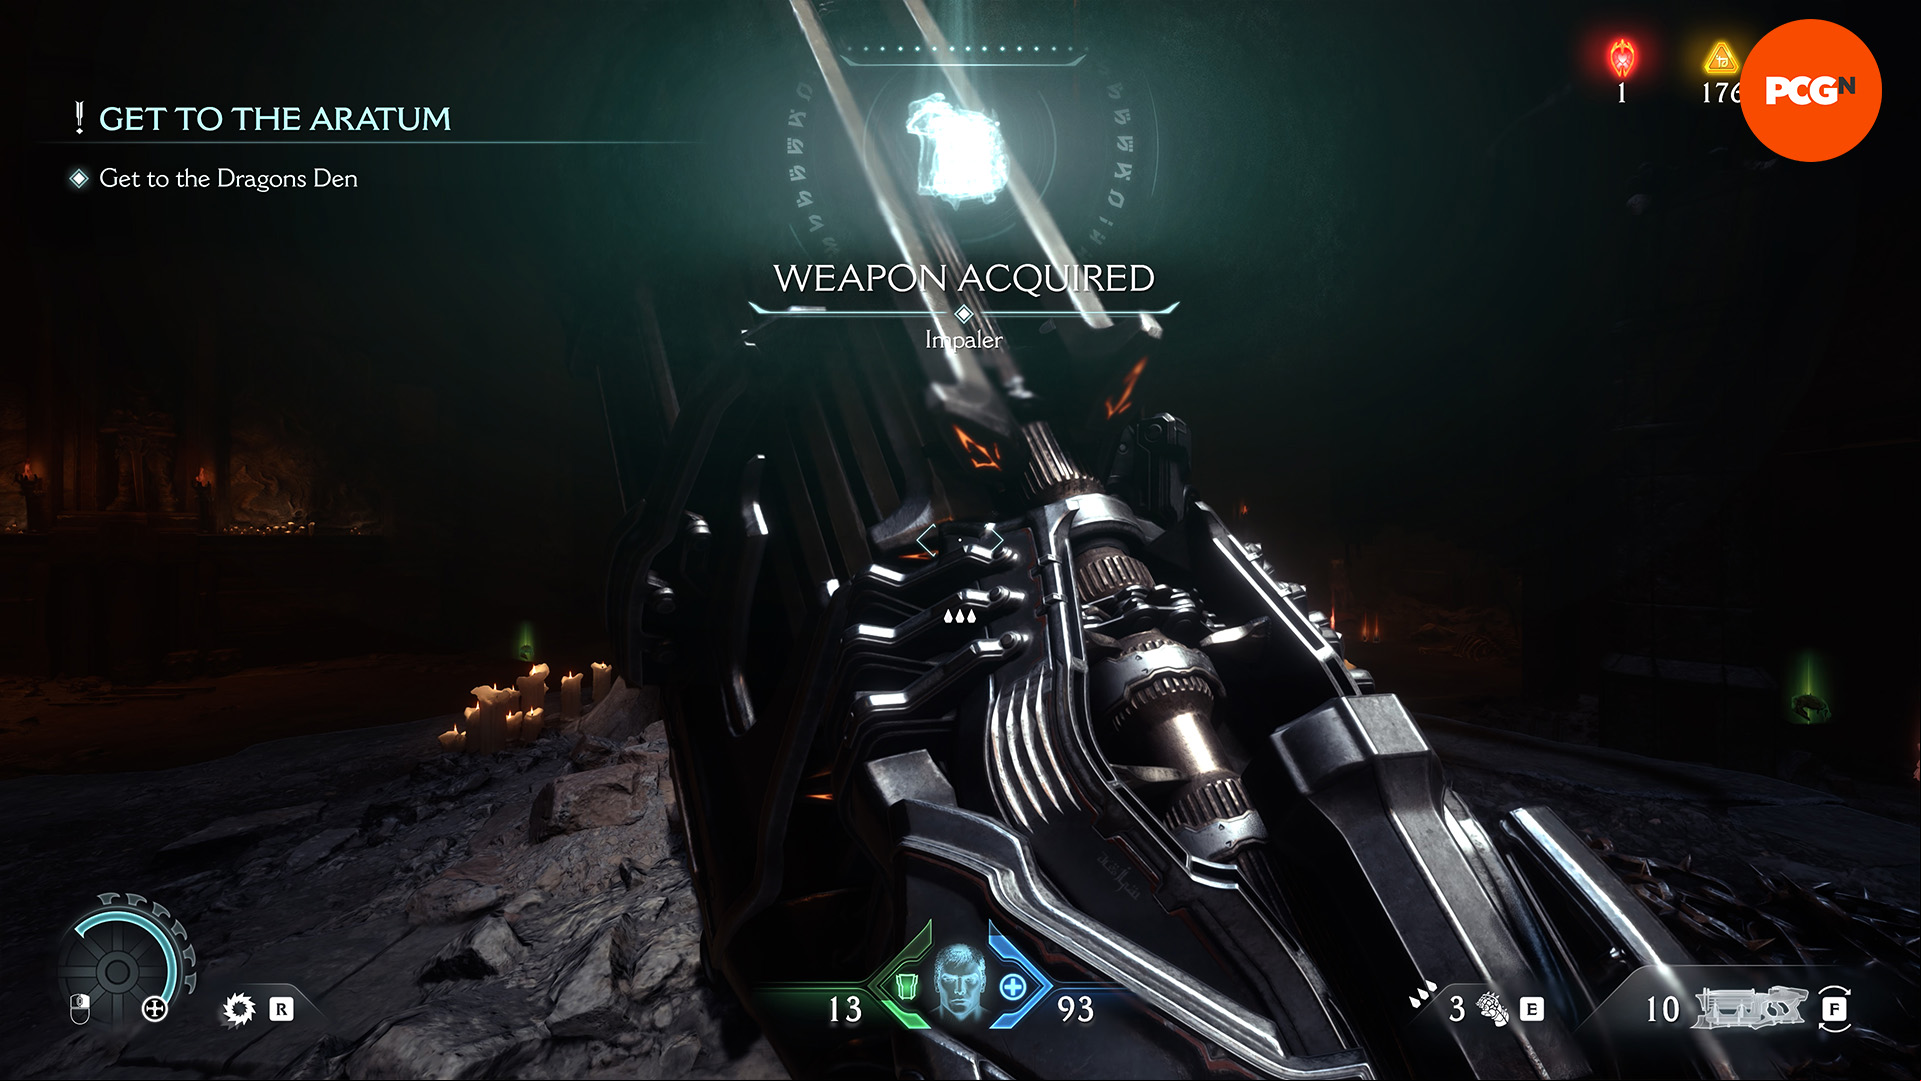
- Rail Spike Impaler – Sentinel Barracks (Chapter 4)
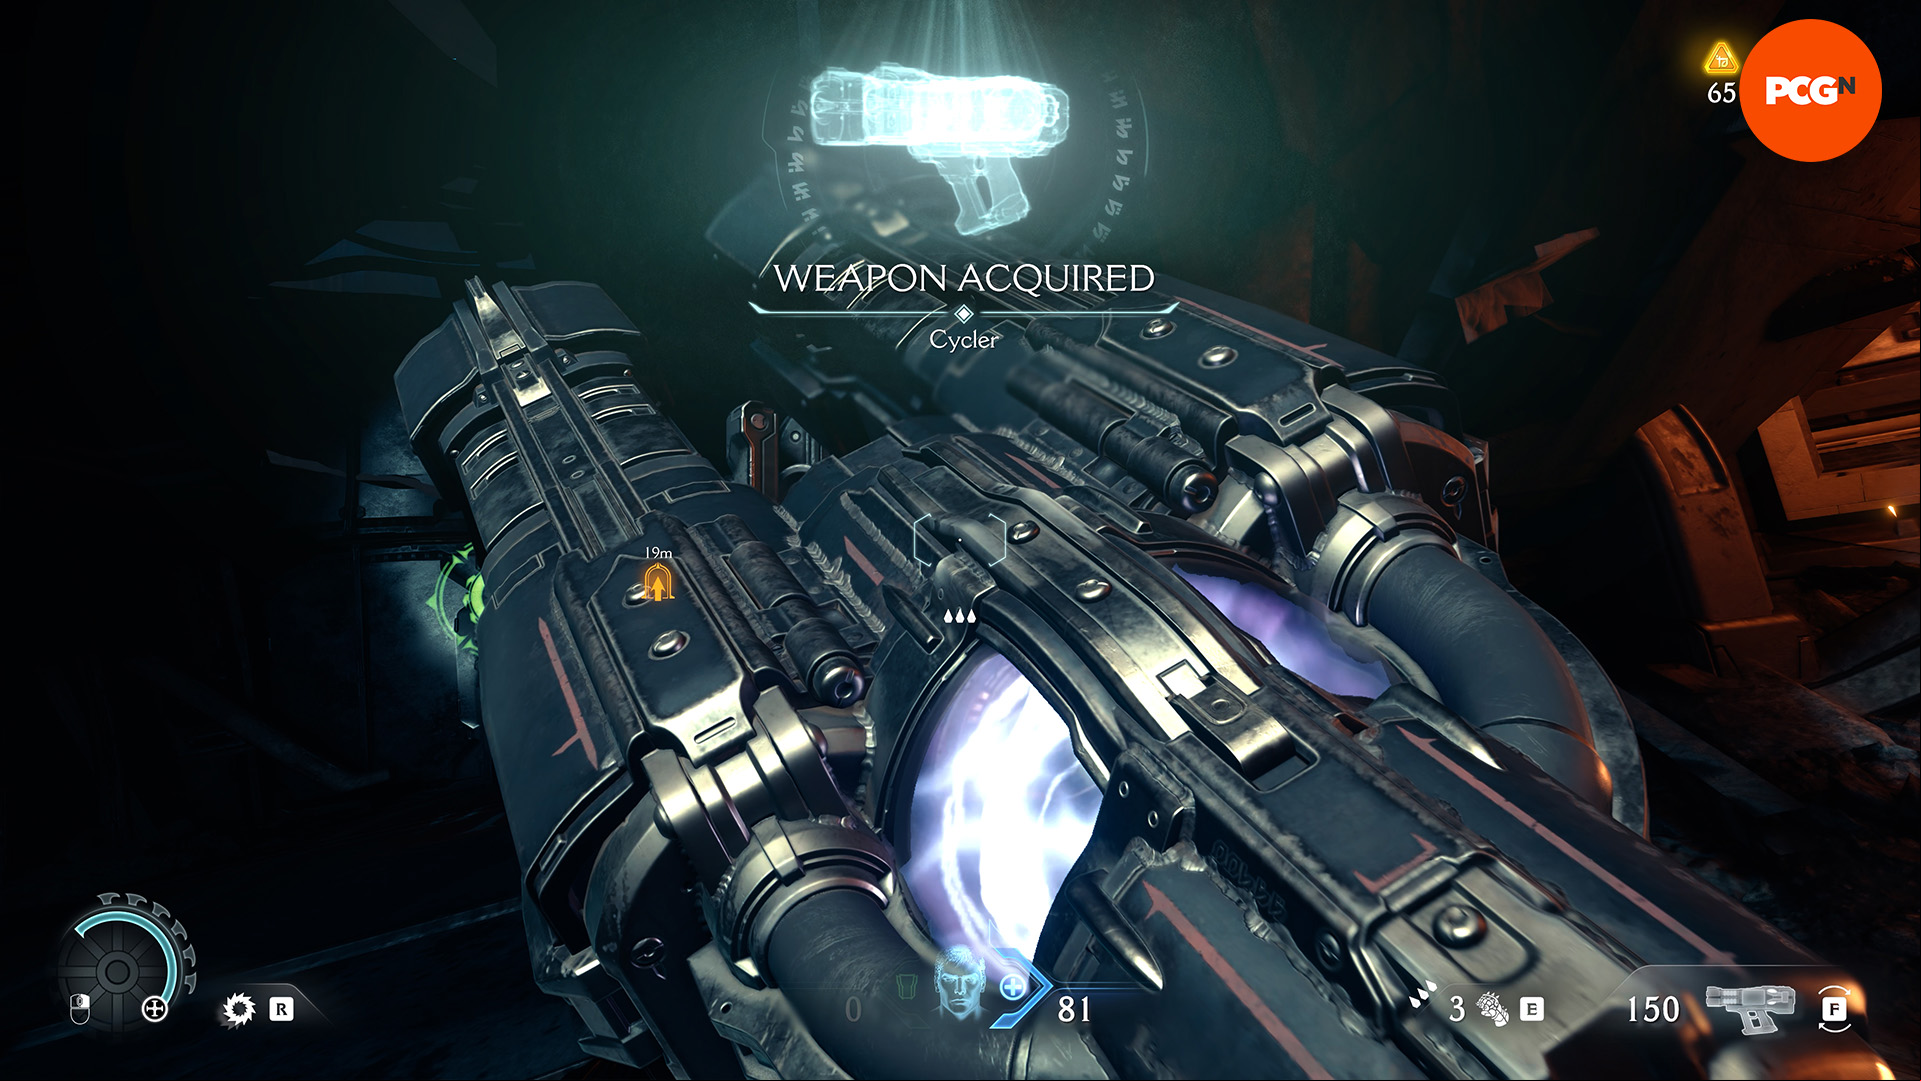
- Plasma Cycler – The Holy City of Aratum (Chapter 5)
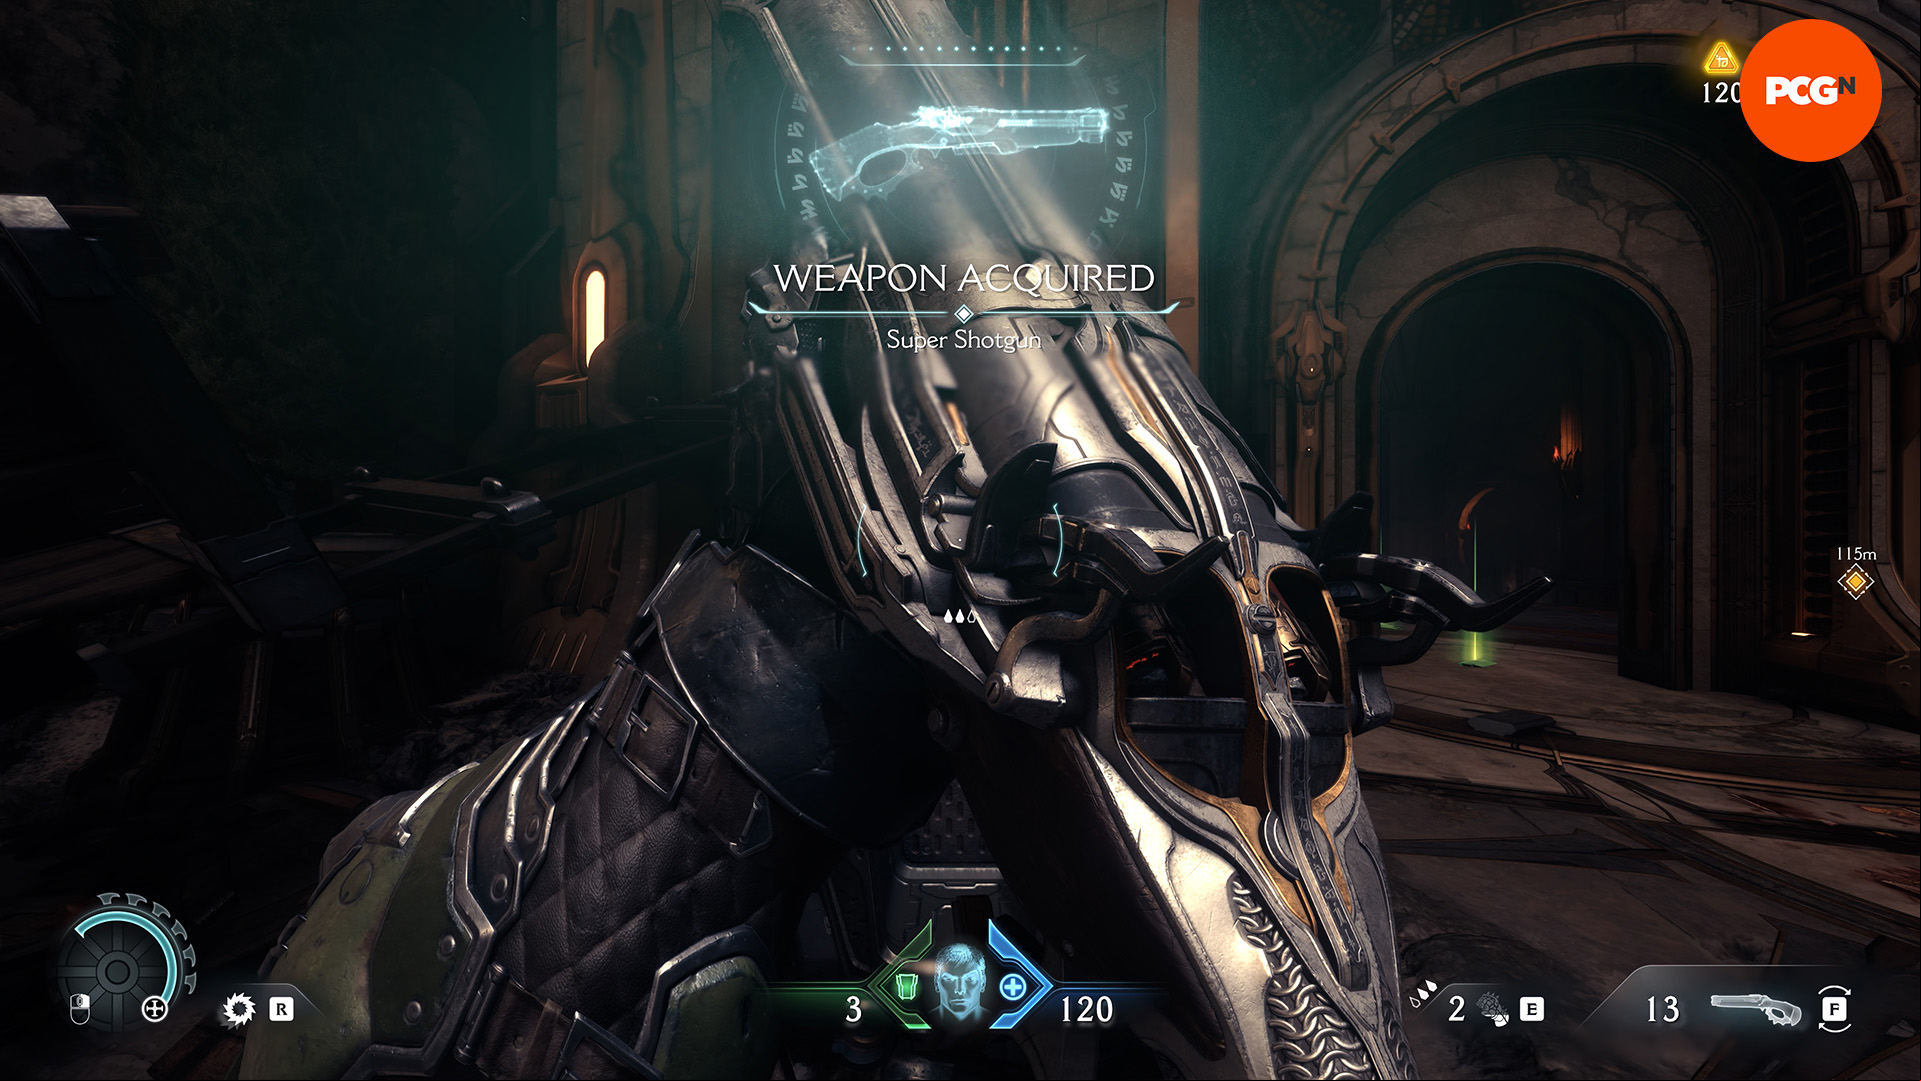
- Super Shotgun – The Holy City of Aratum (Chapter 5)
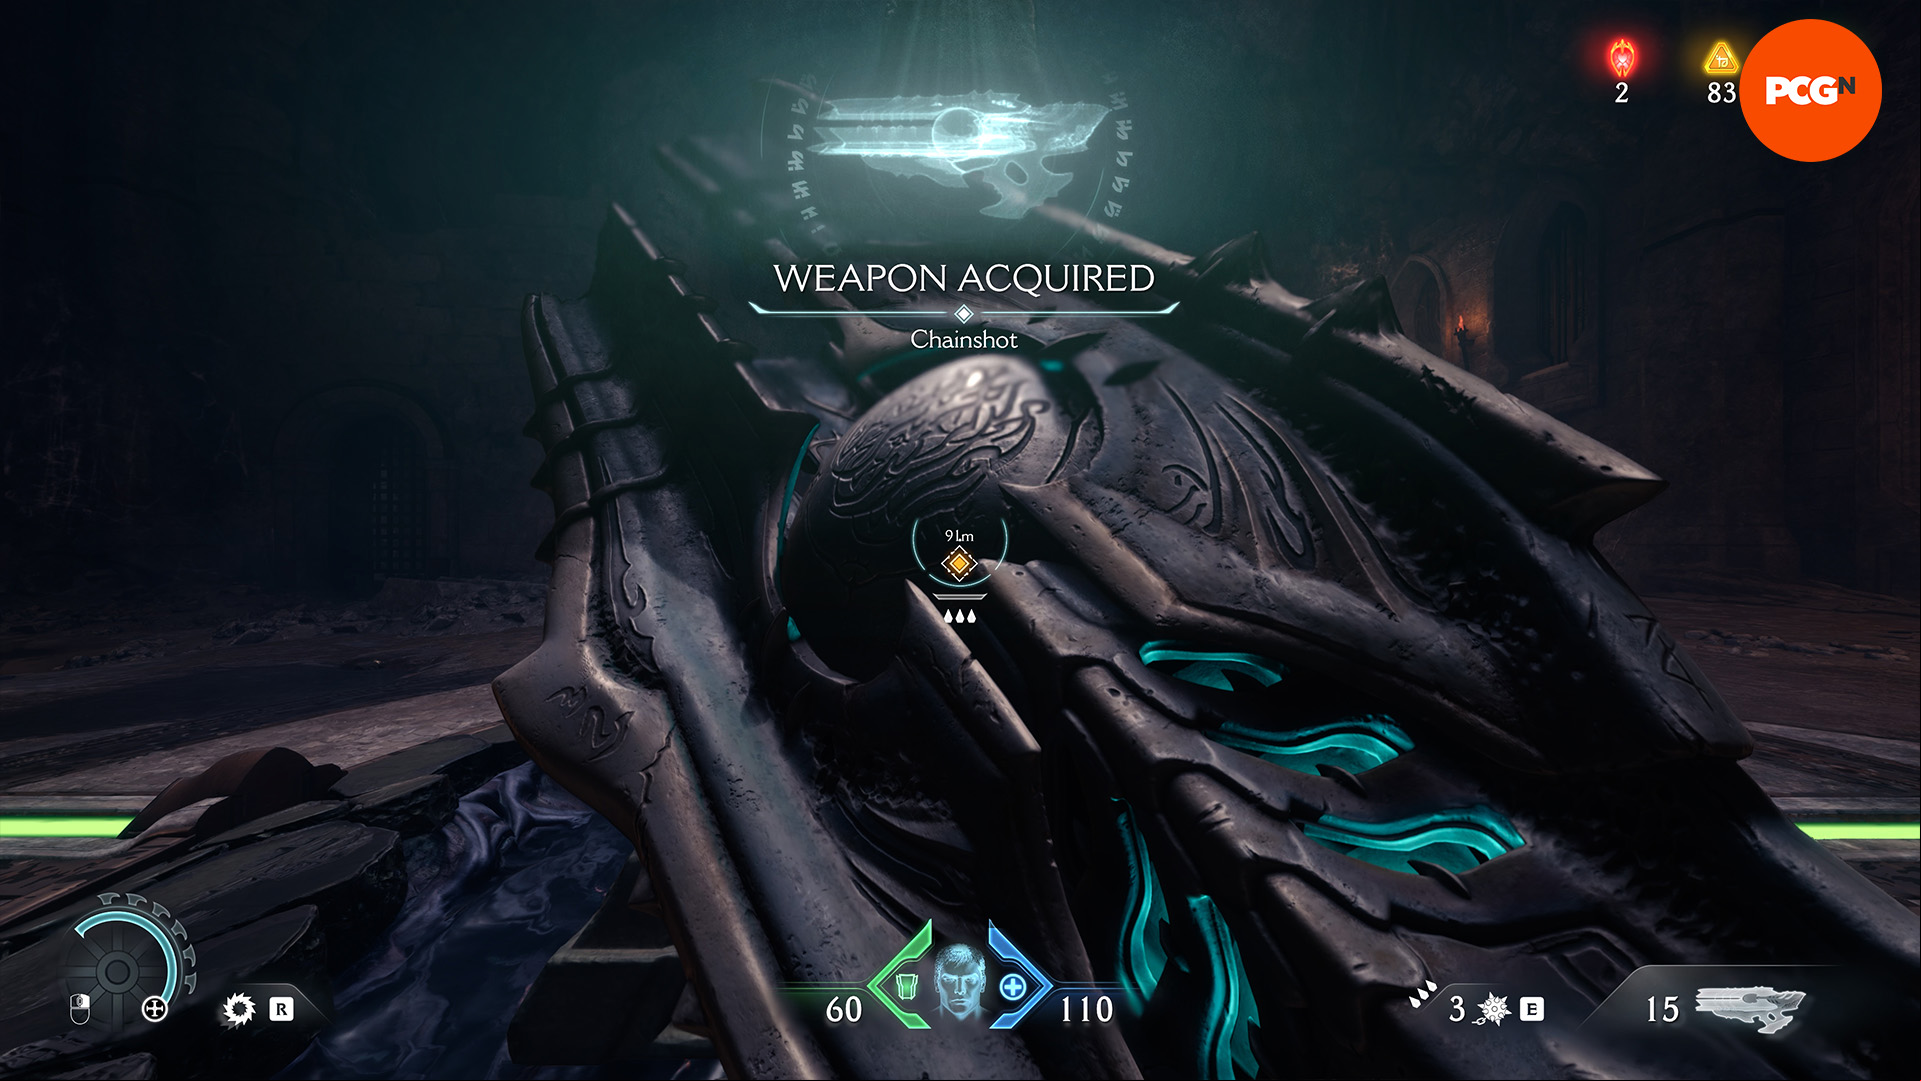
- Reaver Chainshot – Siege Part 1 (Chapter 6)
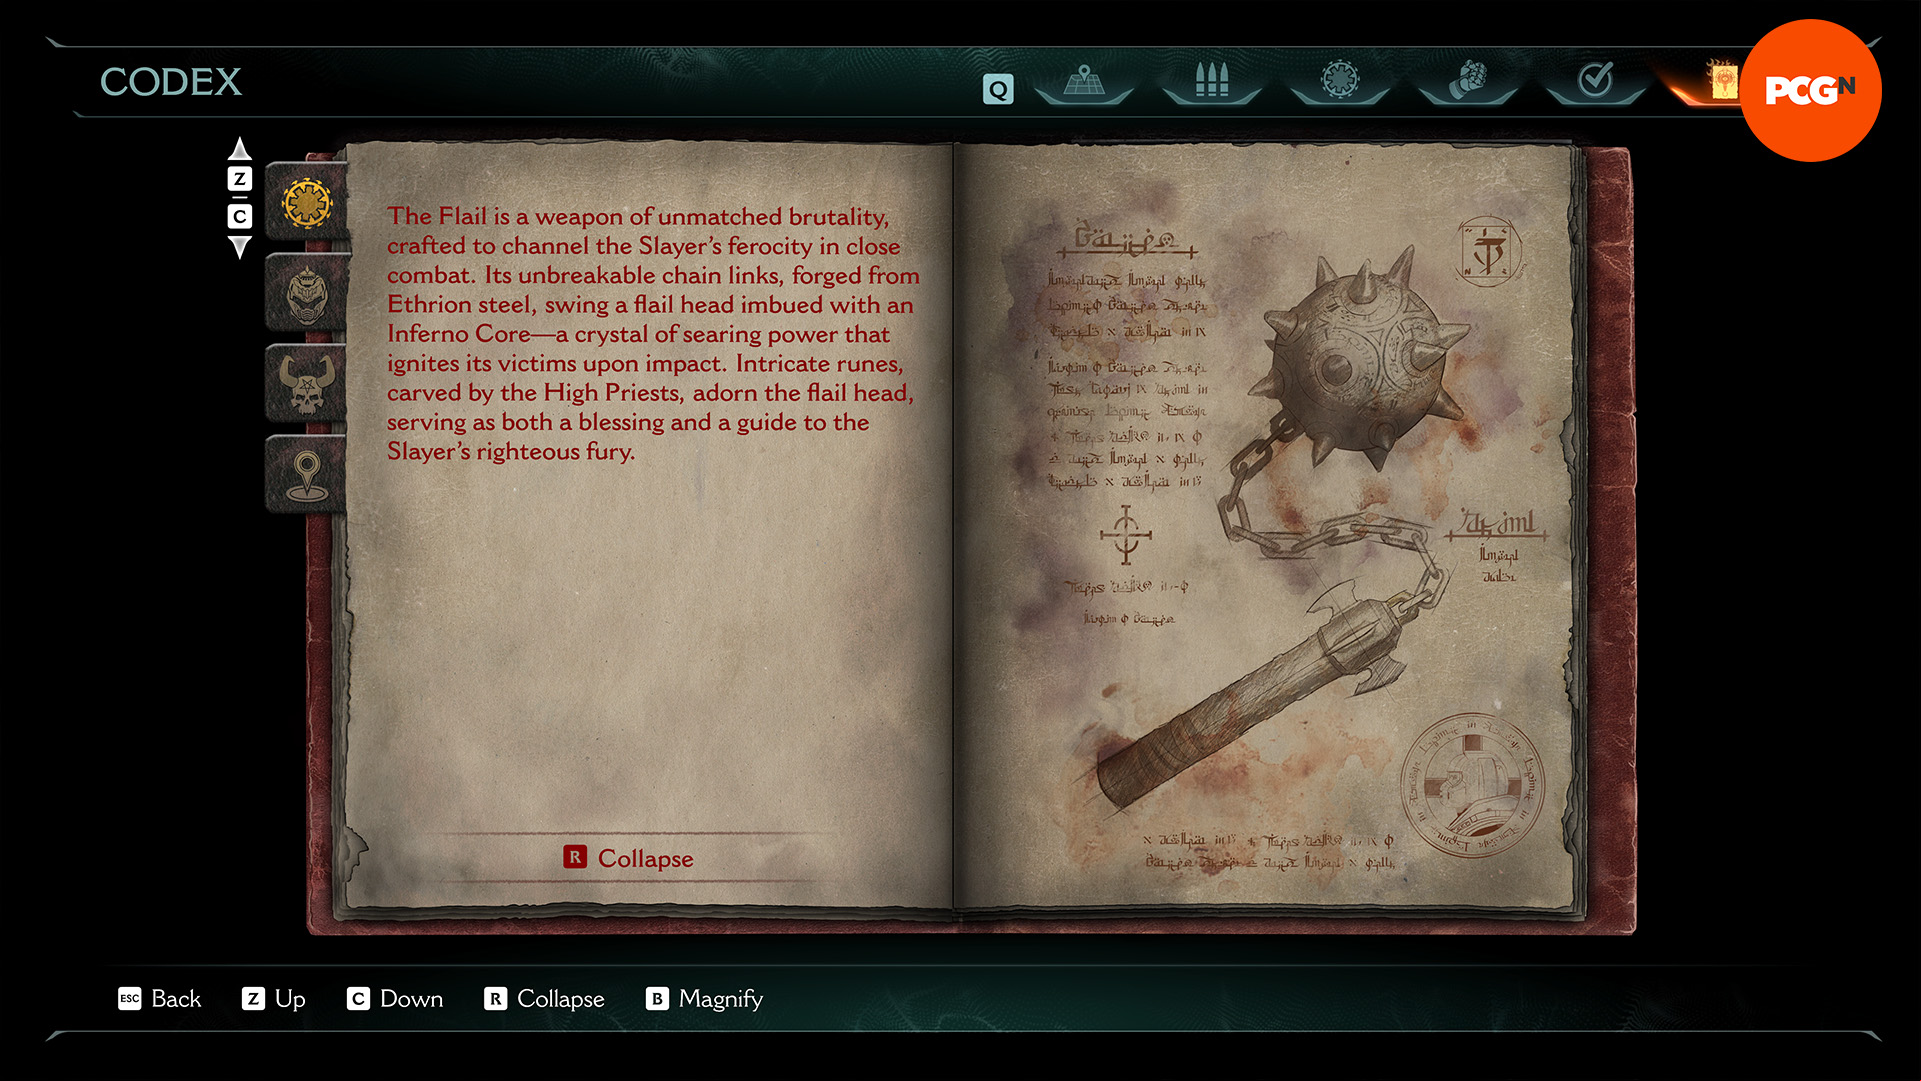
- Flail – Siege Part 1 (Chapter 6)
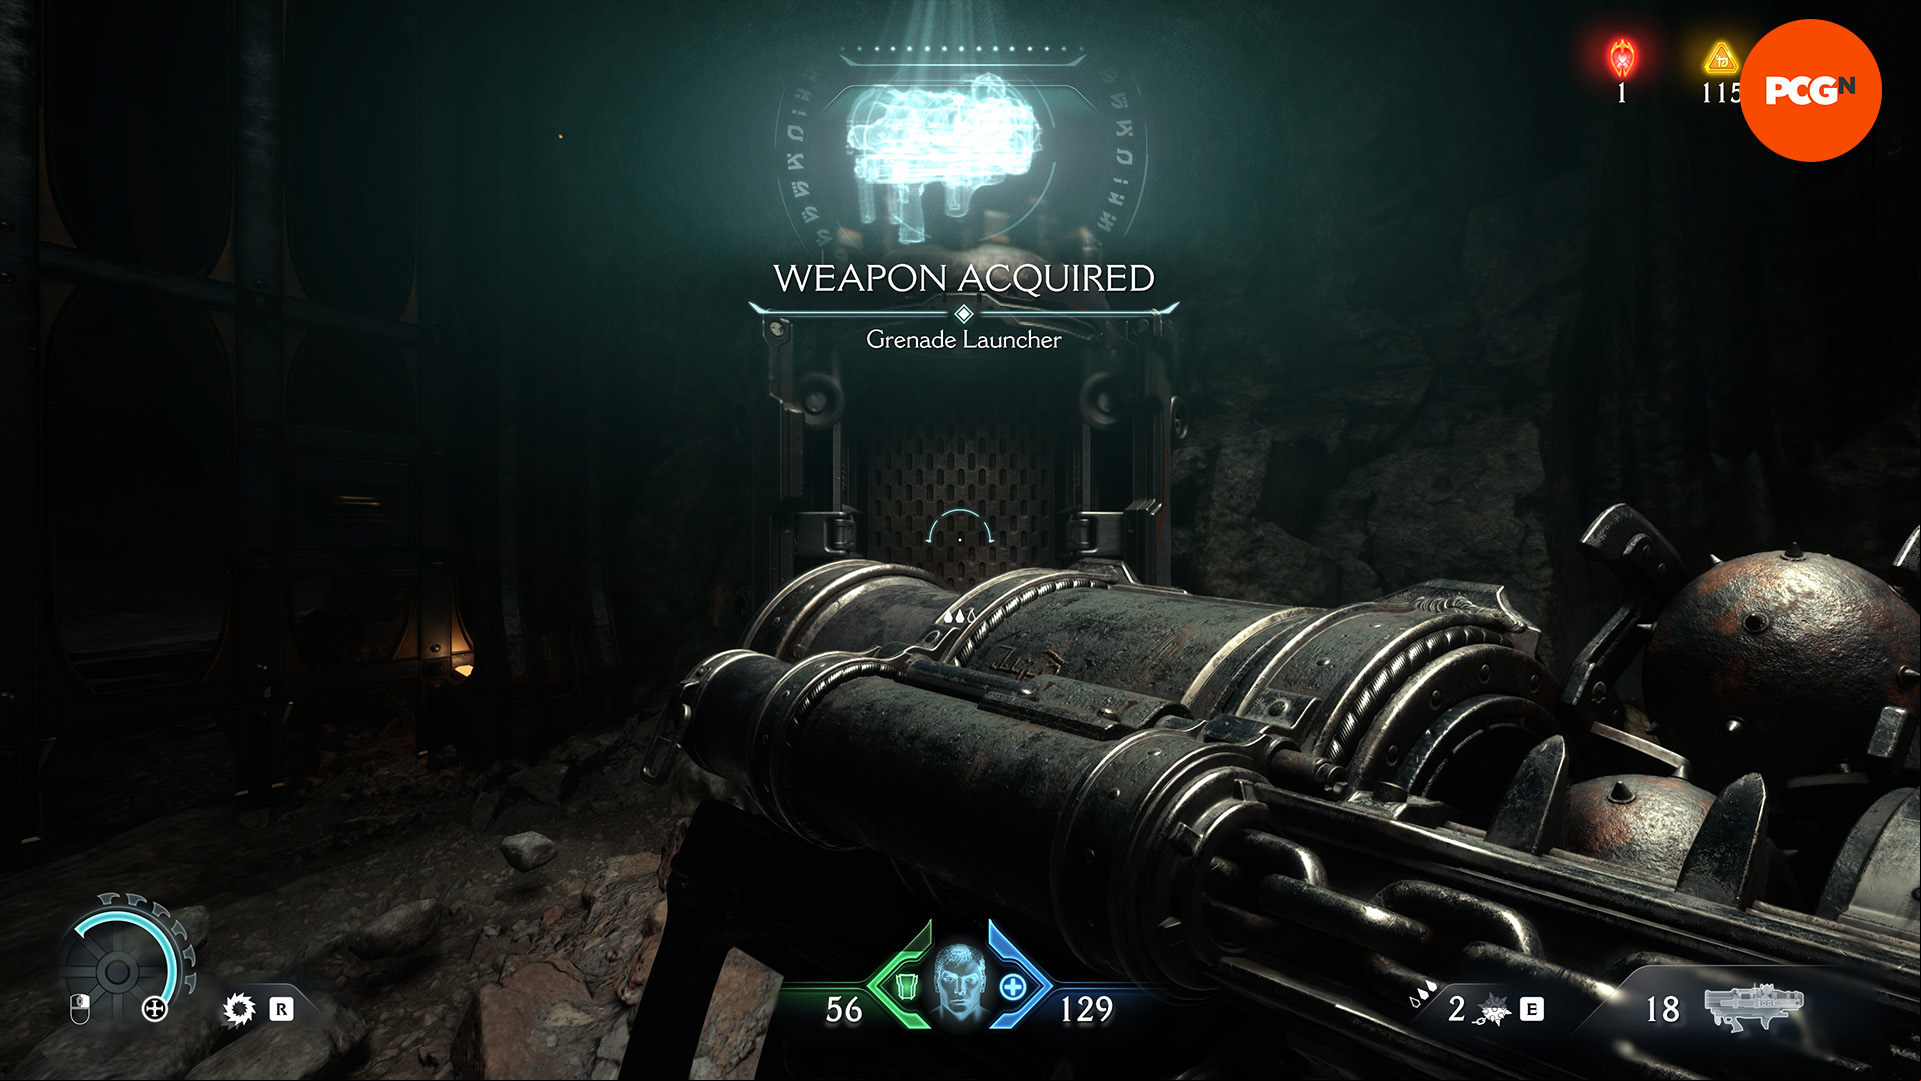
- Grenade Launcher – Abyssal Forest (Chapter 8)
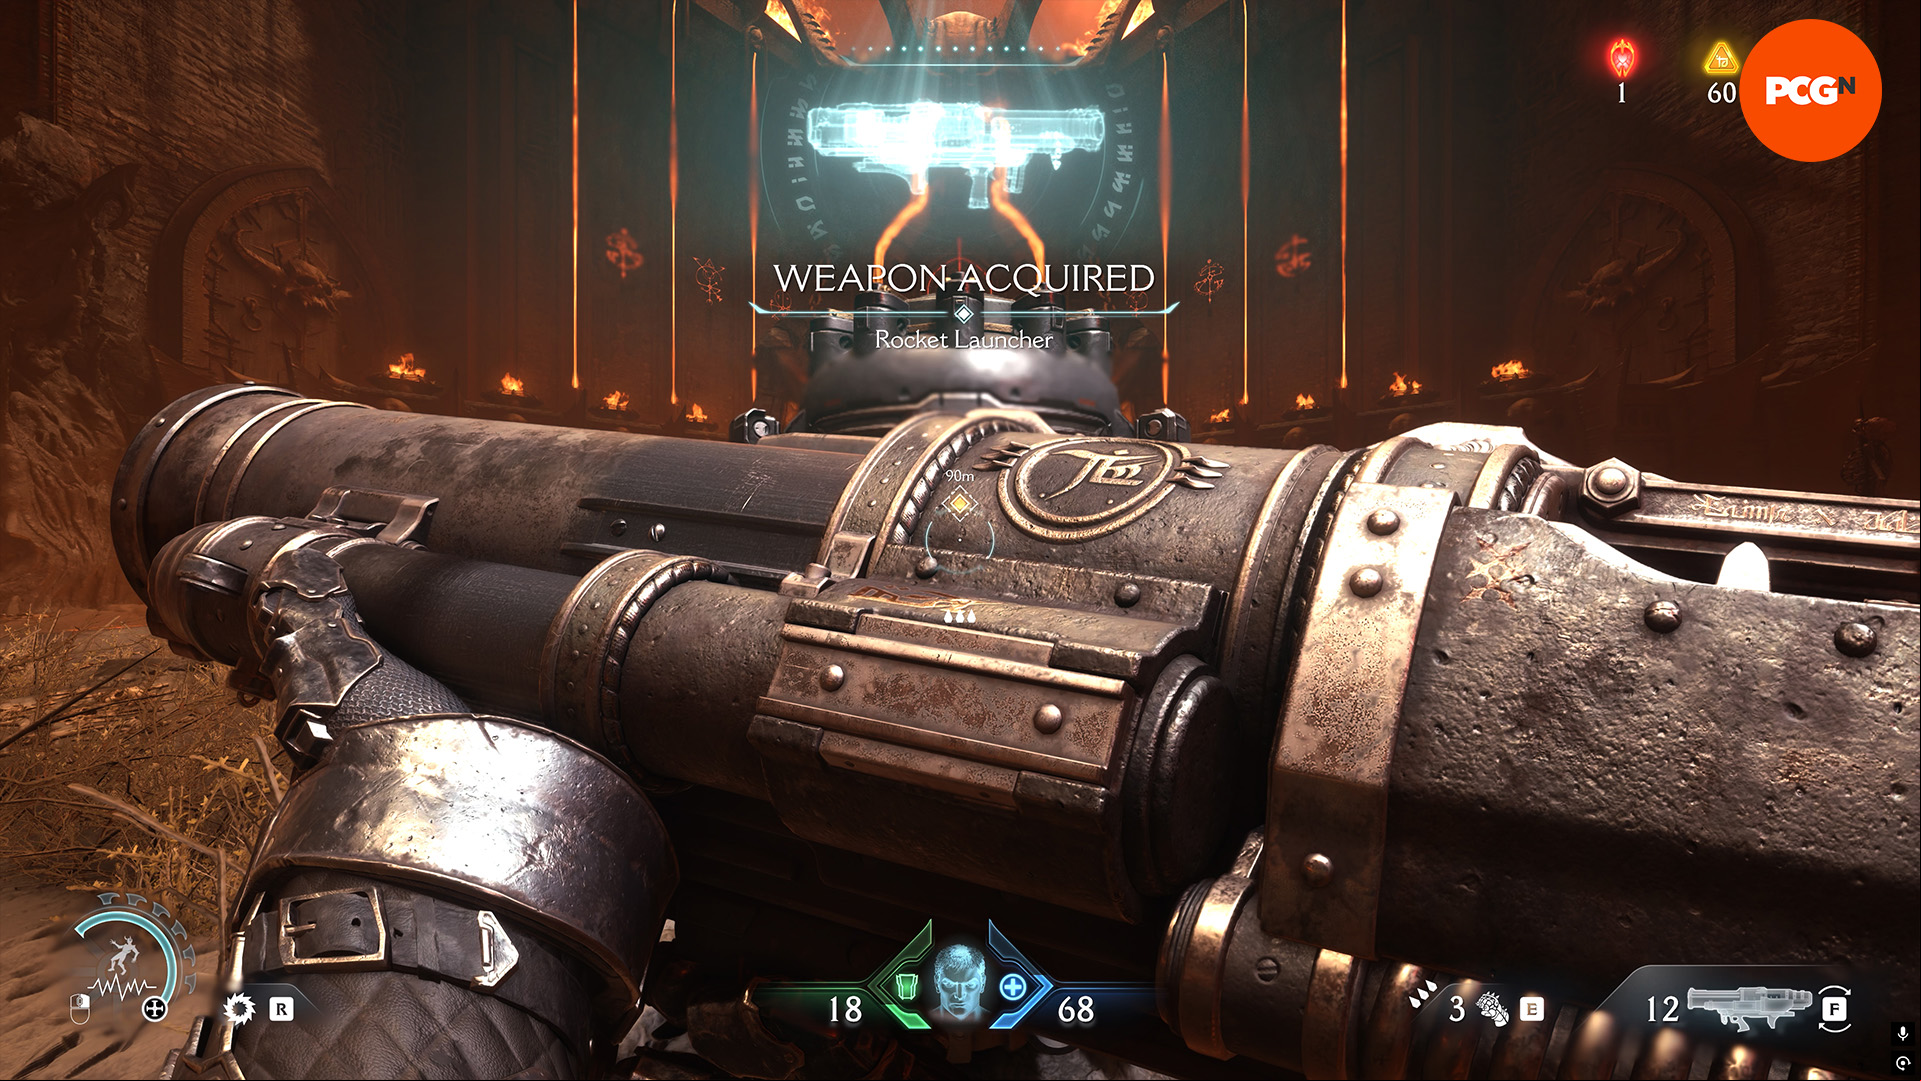
- Rocket Launcher – The Forsaken Plains (Chapter 10)
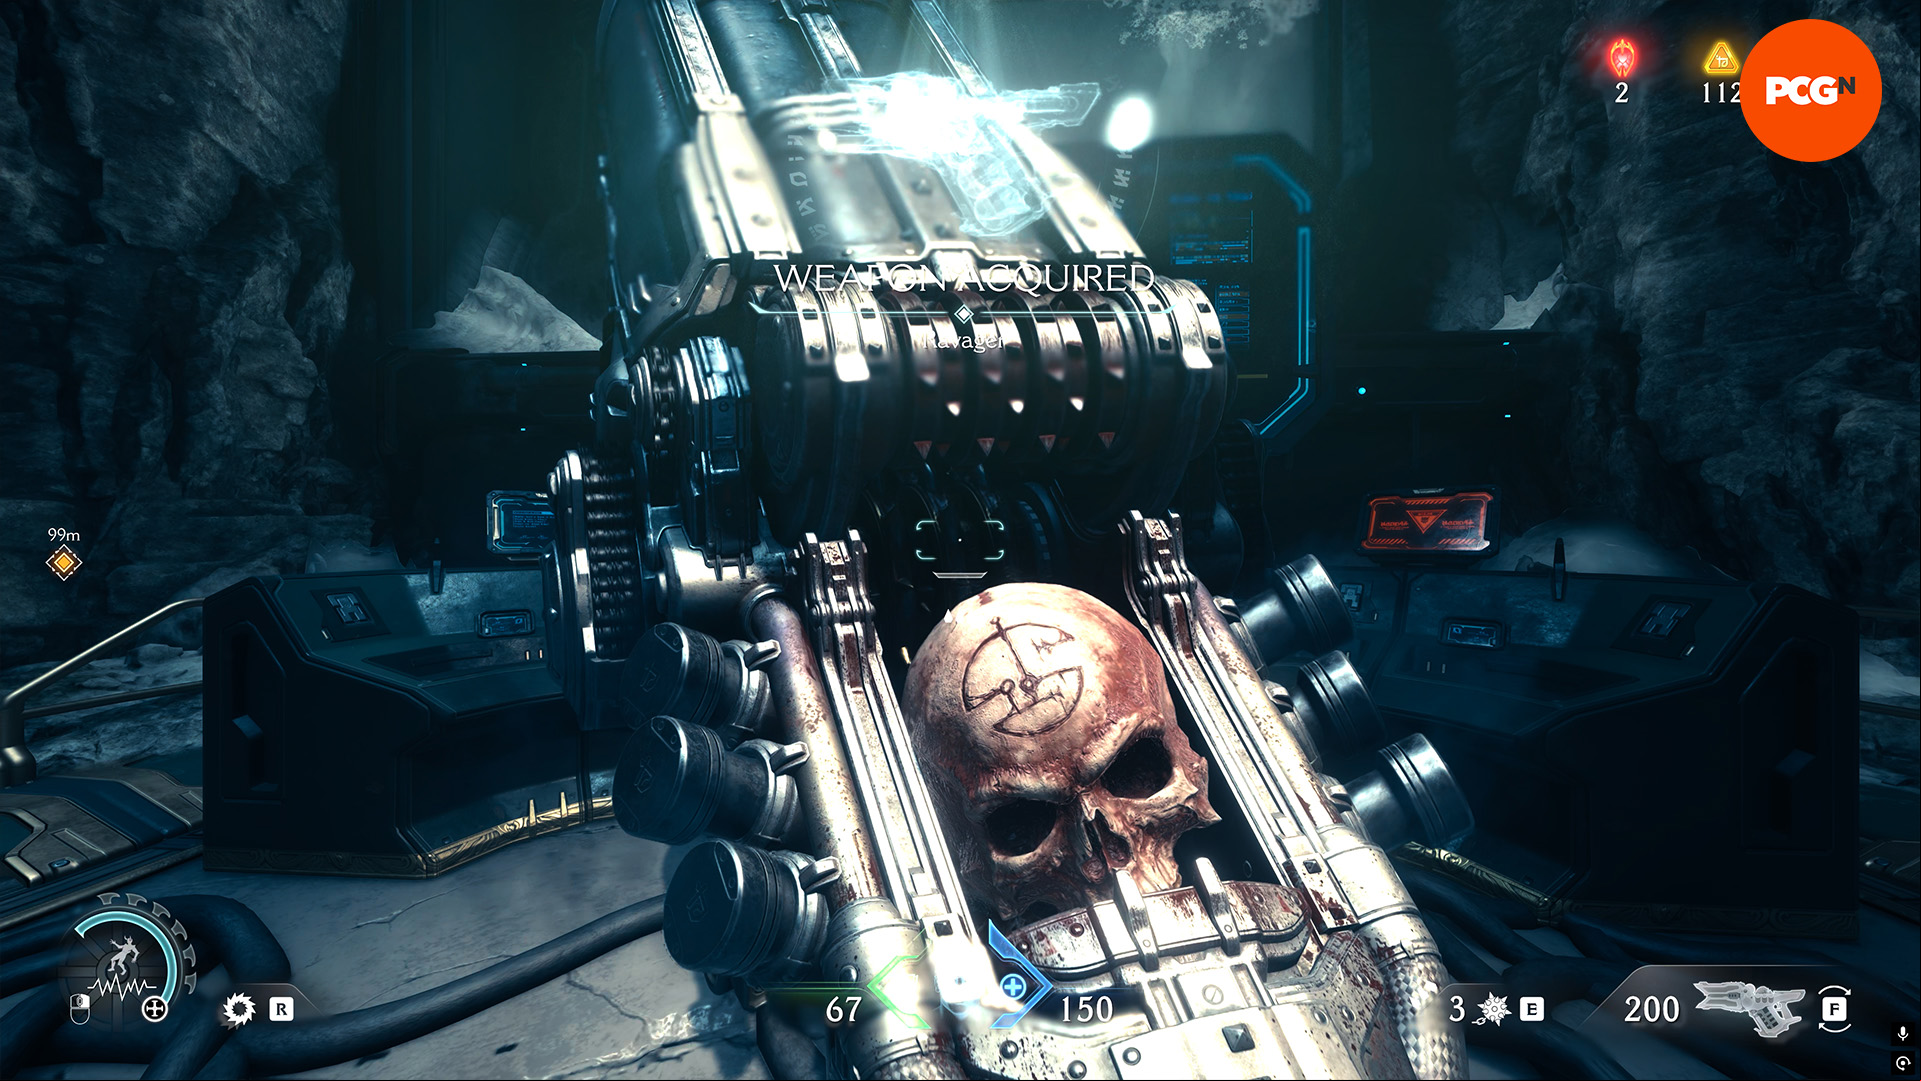
- Skullcrusher Ravager – Sentinel Command Station (Chapter 12)
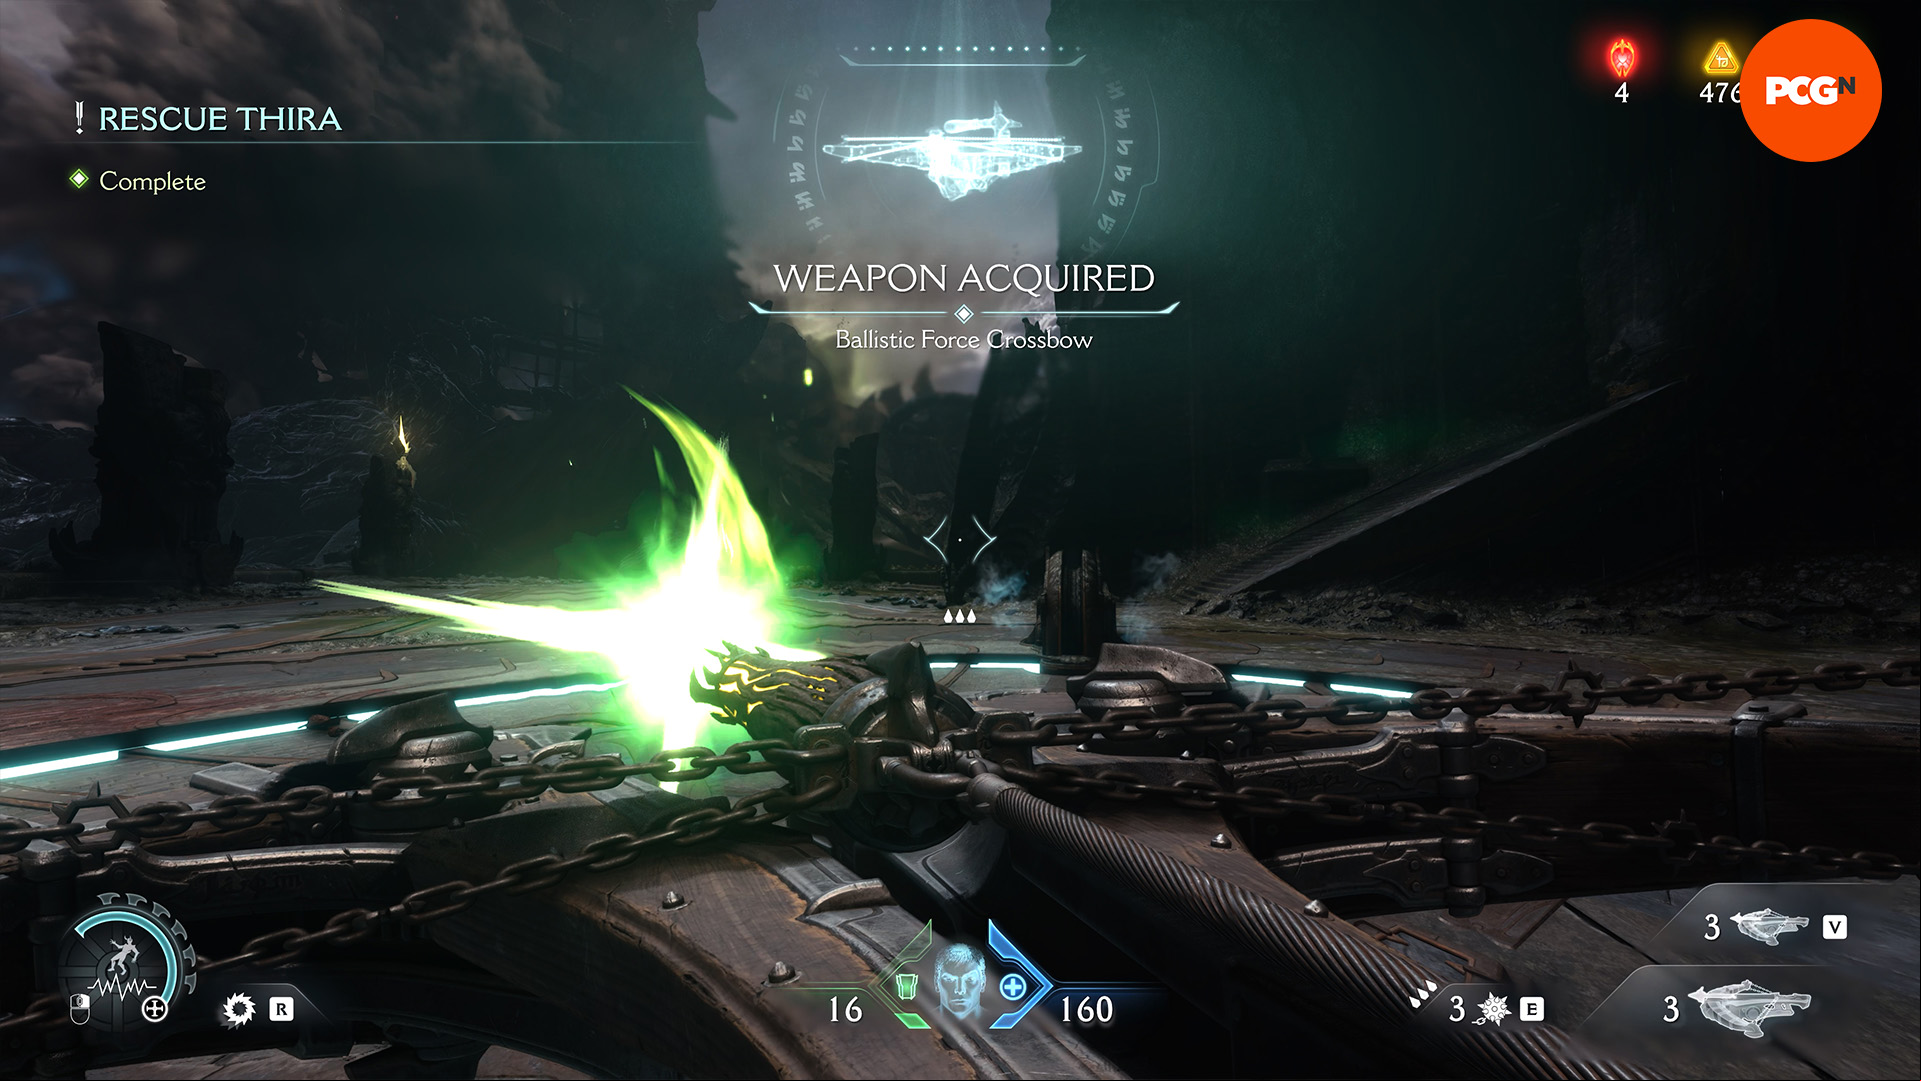
- Ballistic Force Crossbow – Spire of Nerathul (Chapter 14)
- Dreace – City of Ry'uul (Chapter 15)
Combat Shotgun
- Ammo: 20
- Effective Range: Close
- Weapon Type: Shotgun
- Location: Village of Khalim (Chapter 1)
The Doom Slayer starts with this weapon, so you won't need to track the combat shotgun down. Designed for close range combat, swap to this gun whenever you need to deal heavy amounts of damage.
Power Gauntlet
- Charges: 3
- Effective Range: Close
- Location: Village of Khalim (Chapter 1)
Your first real melee weapon is the Power Gauntlet. Stocked with three charges, each charge drops ammo for all of your weapons upon hit, and you can chain strikes together in a melee combo. As with every melee weapon in Doom The Dark Ages, the charges automatically regenerate over time, but you can also find melee ammo on the battlefield to skip this process entirely.
Rail Spike Shredder
- Ammo: 120
- Effective Range: All
- Weapon Type: Rail Spike
- Location: Village of Khalim (Chapter 1)
The Rail Spike Shredder is a fully automatic gun, allowing you to hold down the fire button and mow down enemies with deadly spikes. You can use this weapon from any range – as long as your shots hit their target, each spike deals the same amount of damage regardless of your distance from the enemy.
Shield Saw
- Ammo: N/A
- Effective Range: All
- Location: Hebeth (Chapter 2)
The Shield Saw adds a chainsaw to your trusty shield, and now you're able to throw your shield right at your foes. When thrown, your shield rips through smaller enemies and can stun larger enemies for a few seconds. Against shielded enemies, you can shoot their shields to Superheat them, then throw your shield at them to cause an explosion. As obvious as it may seem, you won't be able to block attacks whenever you throw your shield.
Plasma Accelerator
- Ammo: 150
- Effective Range: Close to medium
- Weapon Type: Plasma
- Location: Hebeth (Chapter 2)
Designed to overload enemies with energy shields, switch to the Plasma Accelerator whenever you spot these blue shields to create an explosion. Avoid using this weapon from long range as your shots will likely veer off target.
Skullcrusher Pulverizer
- Ammo: 100
- Effective Range: Close to medium
- Weapon Type: Skullcrusher
- Location: Sentinel Barracks (Chapter 4)
The Skullcrusher Pulverizer uses crushed up skulls to shoot shards of bone, and it fires in a wide arc unlike most of the weapons we've picked up so far. Switch to this weapon whenever you want to deal with groups of enemies.
Rail Spike Impaler
- Ammo: 10
- Effective Range: Long
- Weapon Type: Rail Spike
- Location: Sentinel Barracks (Chapter 4)
Your first long-range weapon, the Rail Spike Impaler is the perfect tool for taking down large, powerful demons. The Impaler has a slow rate of fire, but it makes up for this with its incredibly high damage, especially if you manage to land headshots.
Plasma Cycler
- Ammo: 150
- Effective Range: Close to medium
- Weapon Type: Plasma
- Location: The Holy City of Aratum (Chapter 5)
Slower than the Accelerator, the Plasma Cycler fires plasma spikes to deal slightly more damage than its counterpart. The differences between the two weapons aren't significant at first, so you'll need to rely on upgrades to make each gun stand out.
Super Shotgun
- Ammo: 13
- Effective Range: Close
- Weapon Type: Shotgun
- Location: The Holy City of Aratum (Chapter 5)
A souped up version of the Combat Shotgun, the Super Shotgun packs an impressive punch, dealing huge sums of damage at close range. The rate of fire is incredibly slow on this weapon, so try to pull it out when you're one-on-one against larger demons.
Reaver Chainshot
- Ammo: 15
- Effective Range: Long
- Weapon Type: Chainshot
- Location: Siege Part 1 (Chapter 6)
Think of the Reaver Chainshot like a bow and arrow – the longer you charge up the weapon, the higher the strength, range, and speed of each shot. Use this weapon when you're fighting against armored enemies to break through their defenses.
Flail
- Charges: 3
- Effective Range: Close
- Weapon Type: Melee
- Location: Siege Part 1 (Chapter 6)
Stronger than the Power Gauntlet, the Flail produces a damaging blast on hit, destroying small nearby demons who happen to get caught in the explosion. You can also combo hits using the Flail if you use several charges on the same enemy. The Flail recharges slower than the Power Gauntlet, but you can accelerate the process by parrying attacks.
Grenade Launcher
- Ammo: 18
- Effective Range: Medium to long
- Weapon Type: Launcher
- Location: Abyssal Forest (Chapter 8)
Destroy enemies by hurling explosives towards them using the Grenade Launcher. The grenades can bounce before they explode, and they will explode on if you aim directly at enemies.
Rocket Launcher
- Ammo: 12
- Effective Range: All
- Weapon Type: Launcher
- Location: The Forsaken Plains (Chapter 10)
If you don't like the arcing trajectory of the Grenade Launcher, consider swapping to the Rocket Launcher to fire off projectiles that travel in a straight line, instantly exploding on . While you do have to avoid being hit by your own rockets, there is an upgrade that negates this effect.
Skullcrusher Ravager
- Ammo: 200
- Effective Range: Close
- Weapon Type: Skullcrusher
- Location: Sentinel Command Station (Chapter 12)
Whereas the Pulverizer centers around damaging groups of enemies, the Skullcrusher Ravager does the opposite, tightening the spread to concentrate the damage into a single target. As you continue to fire the Ravager, the fire rate increases the longer you continue to shoot, and the damage also increases if you kill demons at close range. This does come with a movement speed penalty, but the speed and damage upgrade more than makes up for this.
Ballistic Force Crossbow
- Ammo: 3
- Effective Range: All
- Weapon Type: BFC
- Location: Spire of Nerathul (Chapter 14)
The Ballistic Force Crossbow is the ultimate weapon, capable of destroying entire batches of demons in a single shot. You need to consider when you use each shot, as you only have three chances to use it before needing to stock up on ammo. Unlike the rest of your weapons, BFC ammo can't be replenished, forcing you to find ammo around the world. Finally, while you're using the BFC, you don't have access to your shield until you put the gun away.
Dreace
- Charges: 1
- Effective Range: Close
- Weapon Type: Melee
- Location: City of Ry'uul (Chapter 15)
The strongest melee weapon available, the Dreace has a single charge that deals massive damage in one swipe, causing an explosion that damages nearby enemies. Whereas the Power Gauntlet restores some ammo to your weapons on hit, the Dreace instantly refills your weapons to full ammo after every attack. Parrying attacks causes the Dreace's cooldown to regenerate faster, and picking up ammo also produces the same effect.
And now you have all the information you need to acquire all the Doom The Dark Ages weapons. If you want to make the Doom Slayer look beautiful, you should check out our Doom The Dark Ages review to see what we thought of Id Software's final chapter in the Doom trilogy.

